I got the big old home made quad in the air. I rediscovered I am complete crap at flying and I had a few rough landings, All I was trying to do was some basic take off and lands, and hovering. All of which wasn't so successful. However one key learning was that the home built was BIG & Heavy for the spaces I was planning on learning to fly. I also noticed flex in the booms. So after considering my options I decided to shelf the home build for now and build on a smaller proven platform until I get my flying skills up.
That meant the BlueskyRC frame was going to get use earlier than first thought.
I love laser cut plywood objects and the BlueSkyRC frame is very well done. The frame snapped easily. The main frame parts CA glued ready for the spars and booms.

Since its really hard to get 10mm square wood rod, I am using 10mm aluminium U section. Its light and very ridge over the lengths needed.
I ended up changing the measurements from standard, the booms are 400mm and the internal one are 350mm. This will allow me to have the ESC in the gaps and give a clean look. I changed to these measurements after doing some testing fittings and unfortunately had to cut another set of u section. But even at this stage it feels much ligher and more ridge than my home made one.
The U Sections cut and filed to remove and sharp edges.


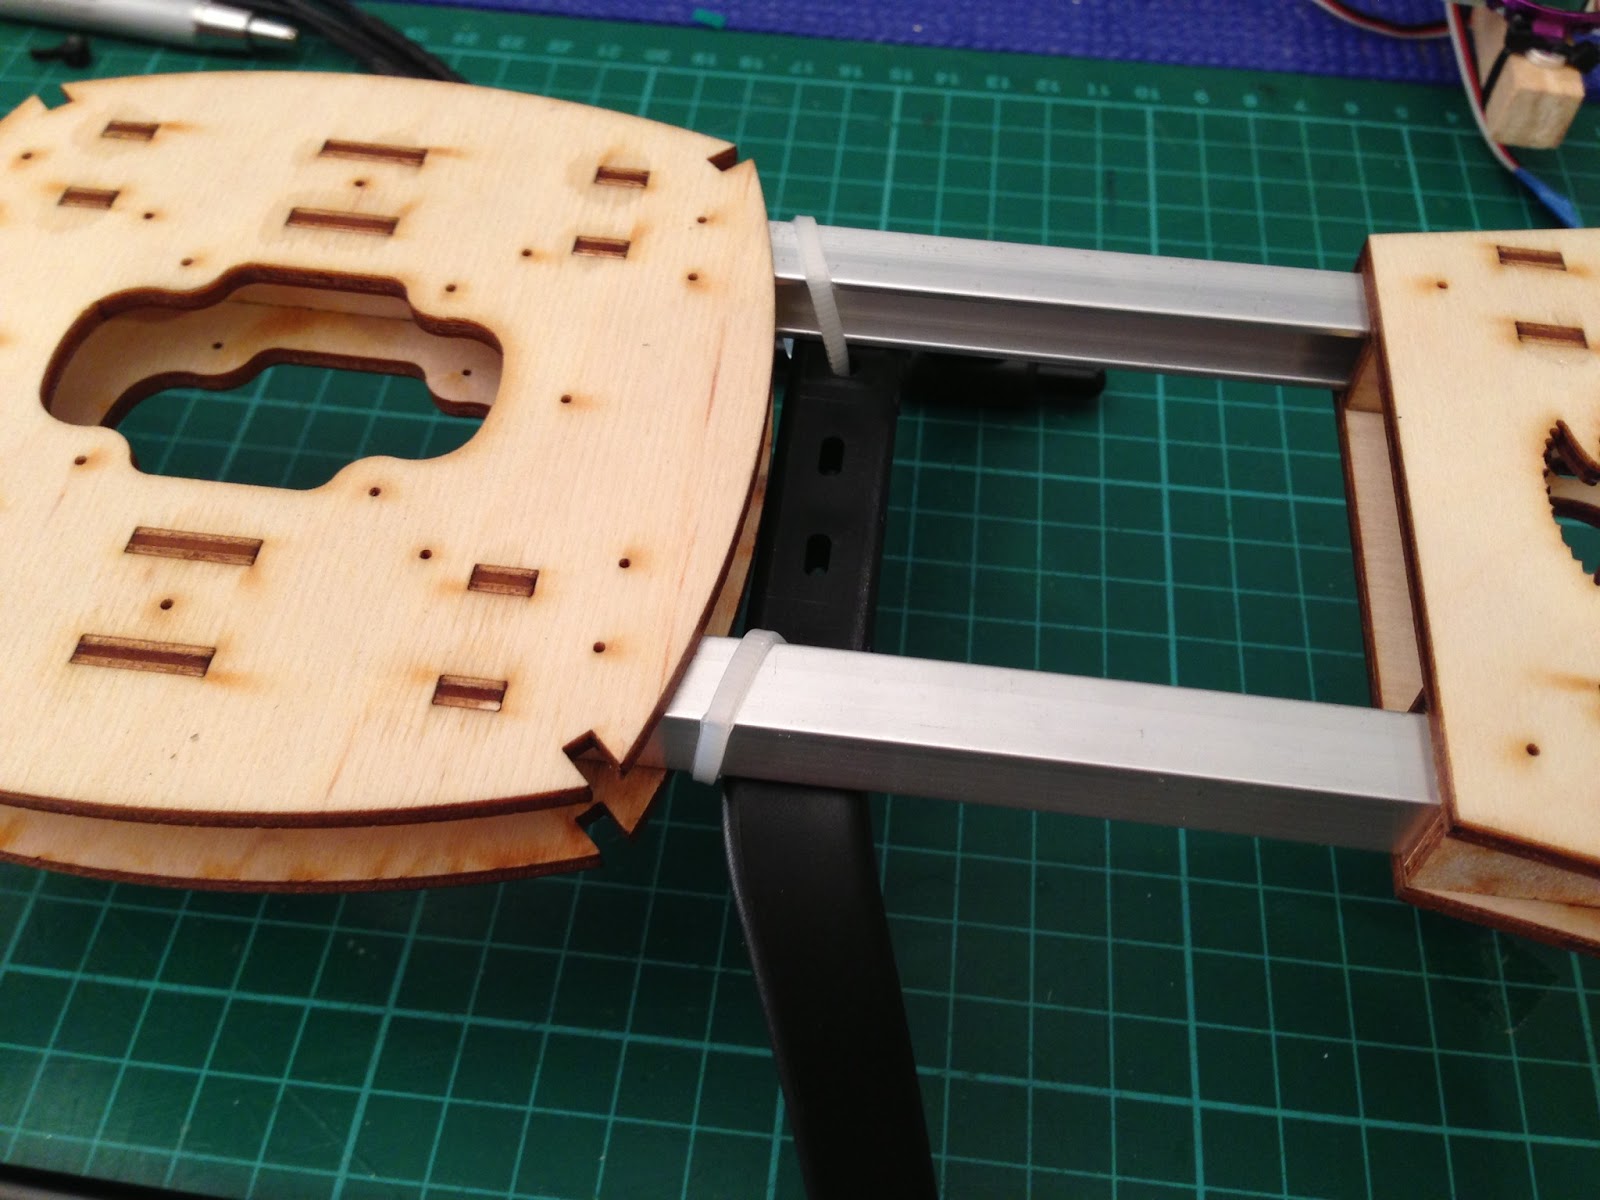
The booms and frame parts laid out, this is the small sized one the internal ones increased in length 50mm.

A quick fit together and comparison to the home built quad, yes quite a difference.

Time to take all the electronics out of the "old" quad and fit into the new one.

This also included the heli0500 landing gear. Once the center was found and the middle frame section was centered the legs were zip tied in place.
Already for the electronics to be included.

I am a sucker for punishment, I redid the wiring on how I intended to do it the first time but wasnt able to as I was missing parts and did not want wait first time around. My aim was to make it very modula. This will allow any part of the power system to be easily replaced or used in another flying machine.
This required cutting off the leads I had soldered on the motor side of the ESC to add 3.5mm bullet connectors. That was repeated on all 4 controllers.
All leads were cut from the ESC leaving 20mm. Bullet connectors were then soldered on and heat-shrink applied.


All 4 ESC complete with the new bullet connectors and heat shrink.

The test fit, I didn't want to just have the ESC zip tied to under carriage. I still want a nice clean look like I was getting with the home build. The ESC's fit snugly between the frame either side of the main frame elements. The underside will have balsa wood glued to the spars and I will make a balsa top plate to complete conceal the ESC. Yes a little OCD.

Next was to make the leads to go from the ESC to the motors that would thread through the frame. I needed 12. I reused the leads that I cut from the ESC and they were the perfect length when cut in half, got to have a bit of good luck every now and then. So a lot of soldering, I only got the first 6 done before calling it quits for the evening..... "Game of Thrones" was calling.

First six complete.

The mess left after the evenings destroy and remake.
