Side Note : A huge thanks and shout out to the crew at Armattan (Chris & Natasha) I had a small issue with the frame that was sent, Not really Armattans fault and the customer service I got from the Armattan team was excellent, Fast response and fast resolution to the issue. I was so impressed by the service and the quality of the frame I went and ordered a F1-4.
So a huge thanks to the Armattan team.
Armattan F1-5 Frame build
After looking for my next build I wanted to get a X style frame, you know the next best thing since sliced bread, after doing my research it came down to an
ImPulseRC Alien or the
Armattan F1-5.
I decided on the F1-5, the drivers were unit cost, shipping cost and lifetime frame guarantee. I also really liked the arm design. After ordering and waiting for the package to arrive which was about 10 day international shipping if finally arrived.
Heres the completed build is its first shakedown flights
Parts I used in the build
- F1-5 Frame with PCB
- Naze32 Rev6
- LittleBee 20s
- RCX 2205 / 2350s
- ET200 VTX
- Sony HS1177s camera
All part are individually plastic wrapped and come in a surprisingly small package.
The package contents.
The carbon is super high quality and the cuts the best I have seen. very impressed.
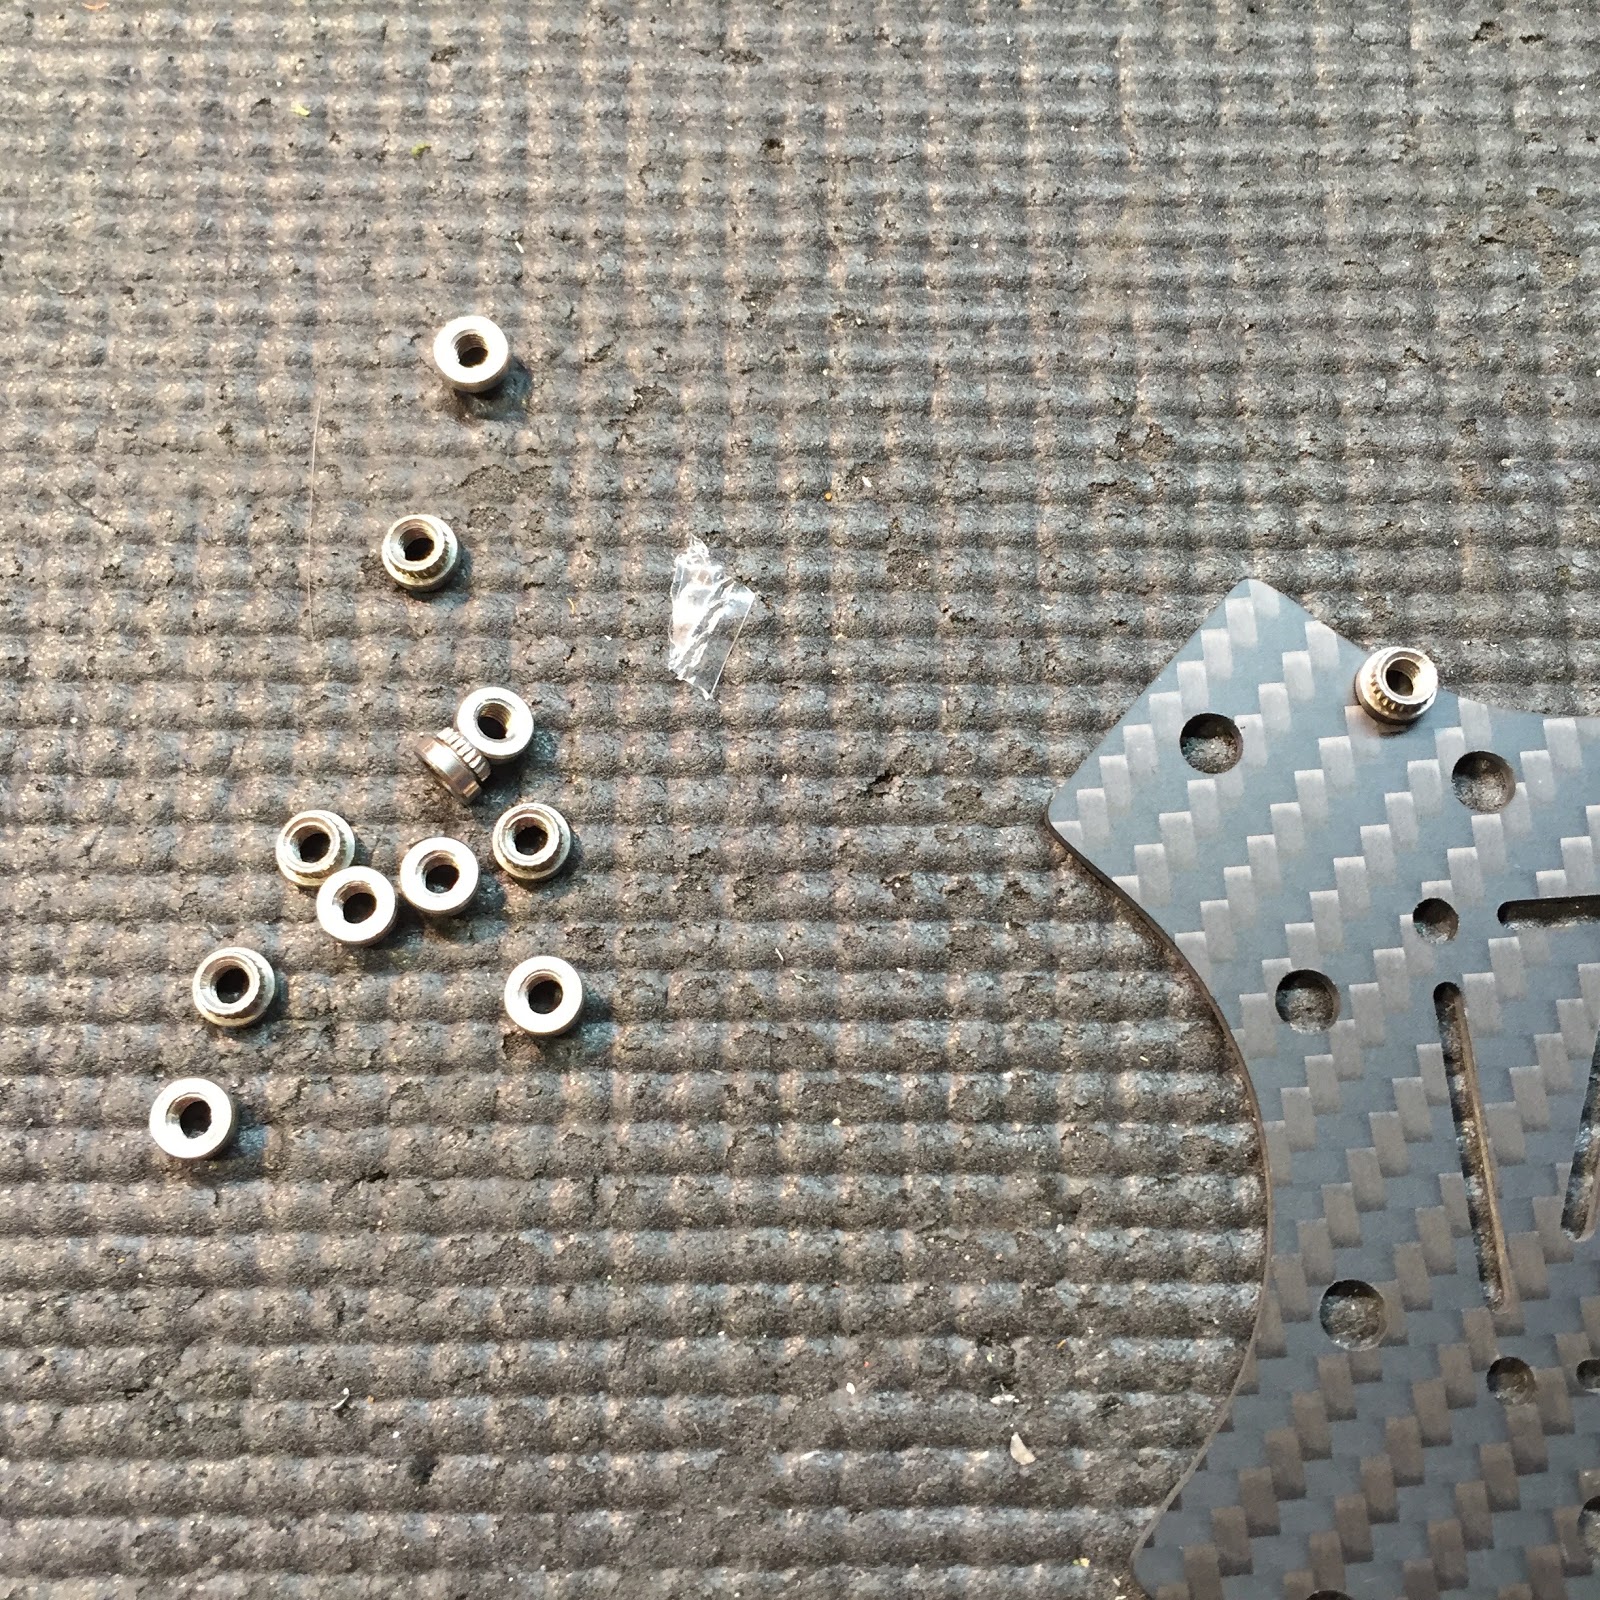
Interesting as its not clear in the online shots that the bottom plate uses press in nuts which makes for a super clean look and easy construction.
The green button head bolts that are supplied are a little long, probably due to the change in the bottom plate going from nylon nuts to the compression nuts.
Testing out the layout of the ESCs and the 2205s
The new PDB that was shipped as part of the current deal has polo integration build in for 5v supply, I used straight header pins and some 3M double sided tape to mount the polo in place.
After I had it all soldered in I realised I could have mounted internally for even clear look.
(I indeed did this as I had issues and this polo was swapped it out)
Pins soldered to the PDB, polo ready to be stuck in place and then soldered.
Checking to make sure that the 5v pads were getting 5v.
All done
Bolted down to the frame
FC nylon stands installed, 12mm supplied as pat of the kit.
Naze test fitted, the Rev6 Black looks good, black on black.
Time to prep the ESCs, I stripped back the heat shrink to allow the desoldering and resolder of the motor leads. I then used rubber bands to hold them in place while I cut and solder the power leads to the PDB. The only thing was that the LittleBees power leads were opposite to that of the PCB if I wanted the motor pads facing up. Not a biggy, but visually a little more untidy.
All ESCs power leads soldered.
Next it was time to strip off all the motor leads
The new RCX2205 / 2350s mounted ready to have the their leads cut to length and soldered to the ESCs
Motors all done, I use the blheli motor reverse to get the motors turning in the right direction. that way I can make the motor leads nice and tidy.
The Naze32 rev 6 test fitted on to plan out the 5v power supply and where to put the motor pins. The motor pins were soldered on the bottom of the Naze facing inward, This hides the ESC plugs and makes for a cleaner build.
I soldered on a JST to the 5v pads to supply 5v to the motor 6 pins on the Naze.
Next I fitted one of my stripped down D4RIIs. Check out how I did this in my
other builds here. I mounted it on the rear lower plates of the f1. I hard soldered a servo lead to the Naze for PPM to plug into the D4RII, I also hard soldered the D4RII telemetry leads to the Naze.
I hard soldered a buzzer to the Naze, I just bent the pins so they fitted into the buzzer holes. I had to make sure this was done after I added the telemetry and vBat pins as the buzzer hides the holes. Once all wired up I used a dab of hot glue to give extra support.
I soldered a JST plug to the ESC tabs to provide batt voltage to the vBat pins on the Naze. I soldered vbat pins facing out for easy access..
Next was the LED, the kit comes RGB 9 LED, that slots just behind the rear standoffs. it took me a while to find what voltage they run but its 5v. I used servo wire to run from the LED to the 5v pads on the PDB and the signal wire to pad 5 on the Naze32 rev 6 (is identified on the naze)
LED cable routed under the transmitter.
LED RGB Signal wire hard soldered to the Naze, I later changed this to a single servo style pin to make it easier to do maintenance.
I designed some simple frame protectors, since I fly over tarmac 50% of the time I try and protect my frames as much as possible. I designed two, One for the center and one for the end. They both work as landing feet and raise the frame 8mm off the ground this also protects the through bolts and compression nuts on the bottom plate.
The front protector also acts as a bumper bar for frontal impacts.
That completed the main frame. All power tested and ready for firmware updates and configuration.
Next was to mount the ET200 VTX. I like to use pig tails as it provides extra mounting options and also saves the VTX in crashes. I like to have the video system on the top plate, it makes it easier to work on. I used a 5cm RP-SMA pigtail from the built in VTX mounting hole to the ET200 which was mounted just in front of the 2nd set of standoffs. This made the wiring from the ET200 to the camera shorter and simpler.
The frame is designed to work with the HS1177s camera and you can just use the provided mount screws that come with the camera. But I have had experience with those screw stripping the soft plastic or the camera becoming loose. So I designed a 20 degree ventilated "chair" for it to sit in to hold the angle and the side mount screws only had to hold the camera from horizontal movement.
Camera sitting in its chair in its new home.
Next I made the wire harness for the ET200 to the HS1177s and power. I like to have the ability to unplug the complete VTX system if required, or more to the point have it unplugged until I am actually doing some FPV.
The camera plug with my
RCTime ET200 kit fitted the HS1177s so that made it very easy to make the harness. I just shortened the leads and removed the audio wires. On the plug that goes into the VTX I hot glued and heat shrink wrapped it with a right angle bend to reduce the stress on that plug. The great thing about the ET200 is that you can power either a 5v or 12v camera which makes for easy wiring.
I got 12v for the VTX system off one of the front 12v pads I soldered on a JST plug to make it easy to plug / unplug the VTX system.
I used the same trick on my other builds using 4mm OD PVC tubing with one side cut to wrap around the arms. this gives the arms great protection from impacts and its an easy, cheap and light way to protect the carbon fiber. I also wick the ends of the arms in CA glue.
You can see in this view the 3d printed feet and front and rear bumpers for additional frame protection.
Once the ESCs were all wired up the rubber bands were removed and the ESCs were 3M double sided to the frame and then wrapped in good quality electrical insulation tape. I also found cool superman and bright orange duck tape that I used to add some colour and humour to the build.
Overall very impressed with the frame and the quality of the kit provided from Armattan. I would not hesitate in recommending this frame just based on that alone. Yet alone on how it flies.....
Software
With the Naze32 Rev6 I
used BetaFligth (latest release), which is just awesome. I loaded the firmware and configured up the Naze, PPM, Failsafe, flight modes, endpoints, deadband, telemetry,
I use PID controller LuxFloat and pretty my used the defaults, I increased the P a couple of points, that was it.
The LittleBees were updated to blheli 14.201 with damped light.
Test flights
Wowsers .... Ok so after I tested the PIDs with no RC rates added, the defaults were rock solid, but I tweaked alittle on the Ps. Once I was happy, I added in my desired RC Rates, with my skill level that is in the 40-50 range.
I am in love .... this is hands down the best flying quad I have, Now I'm sure thats the complete combo, but the X frame is super strong and with the 2205s / littlebees / betafligh its my fastest with the most punch quad, I am still only a 3s kid, goodness only knows what it would be like on 4s.
So far all flights have been LOS acro, can't wait to get some time to take it FPVing.
Like I mentioned I loved this frame so much I ordered a F1-4, which I think is the best endorsement of a frame / frame maker.